For some time I have been wanting to make a magic card, but it has never formed in my head – until now.
Amandas birthday card was a bit of a challenge but I am hoping I have come up with something she will like.
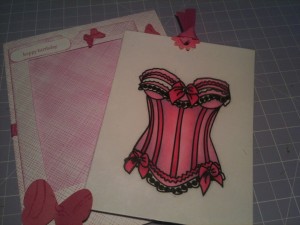
First off I found this image at paperprintables.com and coloured with copic markers.
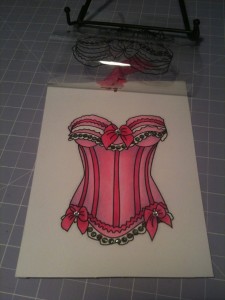
This is the base image in my first try at a magic card. I used RV2 and RV4 to colour this corset, and since they are the only RV copics I have at the moment I had to use C0 and C1 to try and get the shading. I do not know if that was the best way to do it, but as a novice copic colourer I am happy enough with it. As you can see from the folded bit at the top, the image was also printed on clear plastic so that it would overlay exactly.
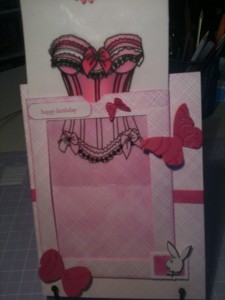
I still wanted to make this like a normal opening card, so the part that the insert will go into is mounted on the card front, instead of as a stand alone card in itself. The netting background stamp is from Hero Arts.
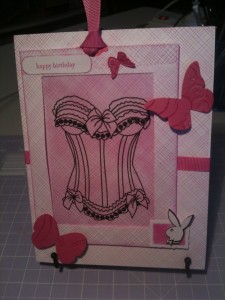
As the insert slides in the colour on the corset disappears. I think this adds the element of surprise to the whole card, which is deliberately made to look a bit bland until you take the insert out.
The front of the card is done on white cardstock and stamped and sponged with Stampin Up Passion Pink ink. the butterflies are from Stampin Up Beautiful Wings and the old butterfly punch also from Stampin Up.
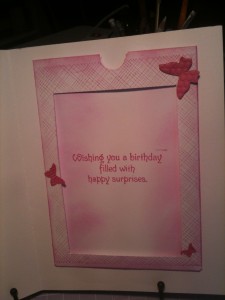
The inside of the card is done in the same style. We will be putting a pressie card in here, and I wanted a place to put it so it would not just fall out. It is also quite tall so I needed to think about it for a bit. In the end I made the same sort of pocket and attached it to the lining of the card, which had a slit in the bottom. the pressie card can slide in the back and go right through to the layer between the lining and the base of the card. This allows enough room for the whole thing to fit in nice and stay level with the top of the pouch. There is also room to write in the card.

